Klaviyo Shopify Integration: Complete Walkthrough
Most Shopify stores sync email subscribers and order data to Klaviyo, then wonder why their flows underperform. The issue isn't the integration itself.
It's that they've configured data sync without understanding what they're syncing or why it matters. You end up with customer profiles missing behavioural triggers, abandoned cart flows that fire at the wrong moment, and SMS subscribers who never opted in properly.
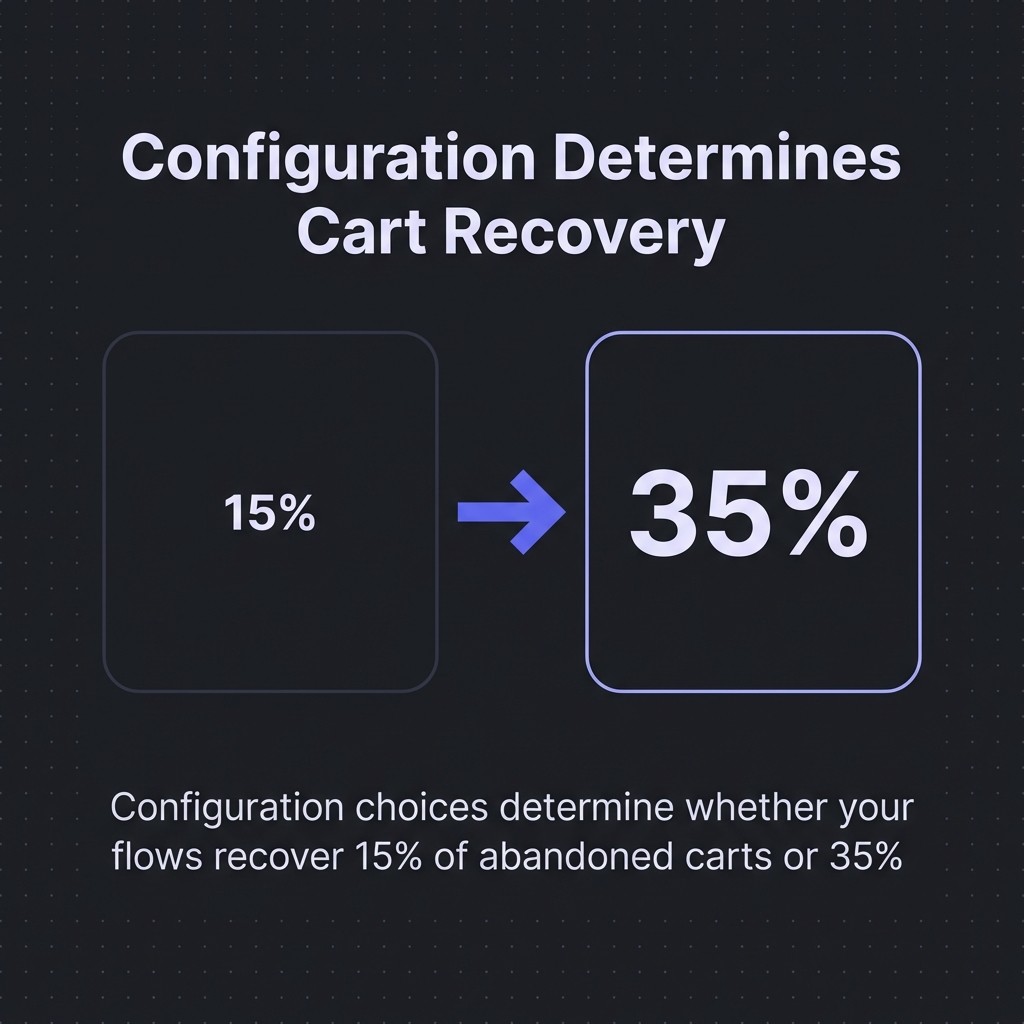
The Klaviyo Shopify integration takes under five minutes to install. But the configuration choices you make in those first few minutes determine whether your flows recover 15% of abandoned carts or 35%.
This walkthrough shows you exactly which settings to enable, which data fields to sync, and how to verify everything works before you build a single flow. You'll know precisely what customer data flows between platforms, how onsite tracking captures behaviour, and why subscriber consent settings matter more than most agencies admit.
By the end, you'll have a properly configured integration that makes retention inevitable.
Why Integrate Klaviyo with Shopify
Your Shopify store collects customer data every time someone browses products, adds items to cart, or completes checkout. But Shopify's native email tools can't segment based on browsing behaviour or purchase history.
That's where Klaviyo transforms basic customer data into targeted retention campaigns.
Klaviyo integrates with Shopify through the official app in the Shopify App Store, enabling sync of customer profiles, orders, revenue, product catalogues, abandoned carts, and site activity. This bidirectional sync means customer actions in Shopify instantly appear in Klaviyo for segmentation.

The integration solves three critical problems:
- Shopify checkout subscribers automatically sync to Klaviyo lists with proper consent tracking
- Browsing behaviour triggers flows based on viewed products or abandoned carts
- Order data powers post-purchase sequences and customer lifecycle segmentation
Without this connection, you're sending the same generic email to everyone. With it, you send abandoned cart reminders featuring the exact products someone viewed, welcome sequences that reference their first purchase, and win-back campaigns triggered by days since last order.
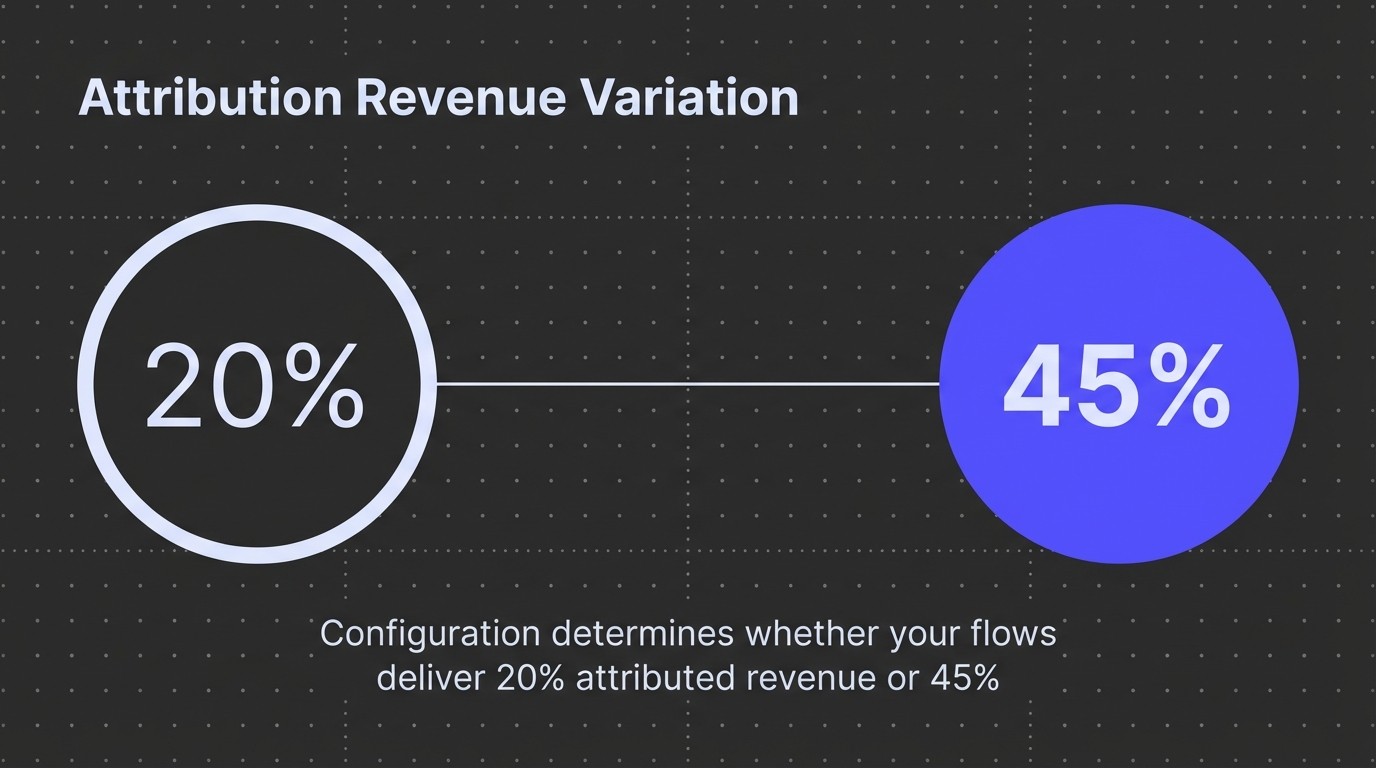
The setup takes minutes. The configuration determines whether your flows deliver 20% attributed revenue or 45%.
Benefits of Klaviyo-Shopify Integration
Once connected, Klaviyo accesses every customer touchpoint across your Shopify store. This data sync enables personalisation that generic email platforms can't match.
Automated Flow Triggers Based on Behaviour
Your abandoned cart flow fires when someone adds products but doesn't complete checkout. Your browse abandonment sequence triggers when they view products without adding to cart. Your post-purchase flow starts immediately after order confirmation.
These behavioural triggers require onsite tracking and order data sync. Without proper integration, you're manually exporting customer lists and guessing at timing.
Advanced Segmentation Using Customer Profiles
Klaviyo builds unified customer profiles combining Shopify data with email engagement. You can segment by total spend, average order value, products purchased, or days since last order.
This means your VIP customers receive different campaigns than first-time buyers. Your repeat purchasers get loyalty offers whilst lapsed customers receive win-back discounts.
Revenue Attribution and Performance Tracking
Every flow and campaign shows attributed revenue pulled directly from Shopify orders. You see which emails drive purchases, which flows recover the most carts, and which segments generate highest lifetime value.
This attribution relies on proper order data sync. Misconfigure it during setup and your revenue reporting breaks.
Integration FeatureImpact on RetentionSetup RequirementCustomer profile syncUnified data for segmentationAutomatic after connectionOrder data trackingRevenue attribution and purchase historyEnable in data sync settingsBehavioural event trackingFlow triggers for browsing and cart actionsEnable app embed in Shopify themeSubscriber consent syncCompliant email and SMS marketingConfigure checkout opt-in settings
These benefits require correct configuration. Miss a setting and you lose critical functionality.
Before You Begin: Prerequisites
You need active accounts on both platforms before starting the integration process. Trying to connect without proper access causes permission errors that waste time troubleshooting.
Required Access and Permissions
Your Klaviyo account must have admin or owner permissions to add integrations. Your Shopify account needs staff permissions that allow installing apps.
If you're working with a client's store, request these permissions before scheduling the integration. You'll need approval rights to authorise data sharing between platforms.
Data You'll Sync Between Platforms
The integration syncs customer profiles, email subscribers, order history, product catalogue, and behavioural events. Understanding what data flows where prevents configuration mistakes.
Customer profiles move bidirectionally. Shopify customers sync to Klaviyo for segmentation. Klaviyo profiles sync back to Shopify for checkout personalisation.
Order data flows from Shopify to Klaviyo only. This includes purchase history, product details, and revenue metrics that power your flows and attribution reporting.
Time Required for Initial Sync
Small stores with under 1,000 customers complete initial sync in minutes. Larger stores with tens of thousands of customers and extensive order history may take 30-60 minutes.
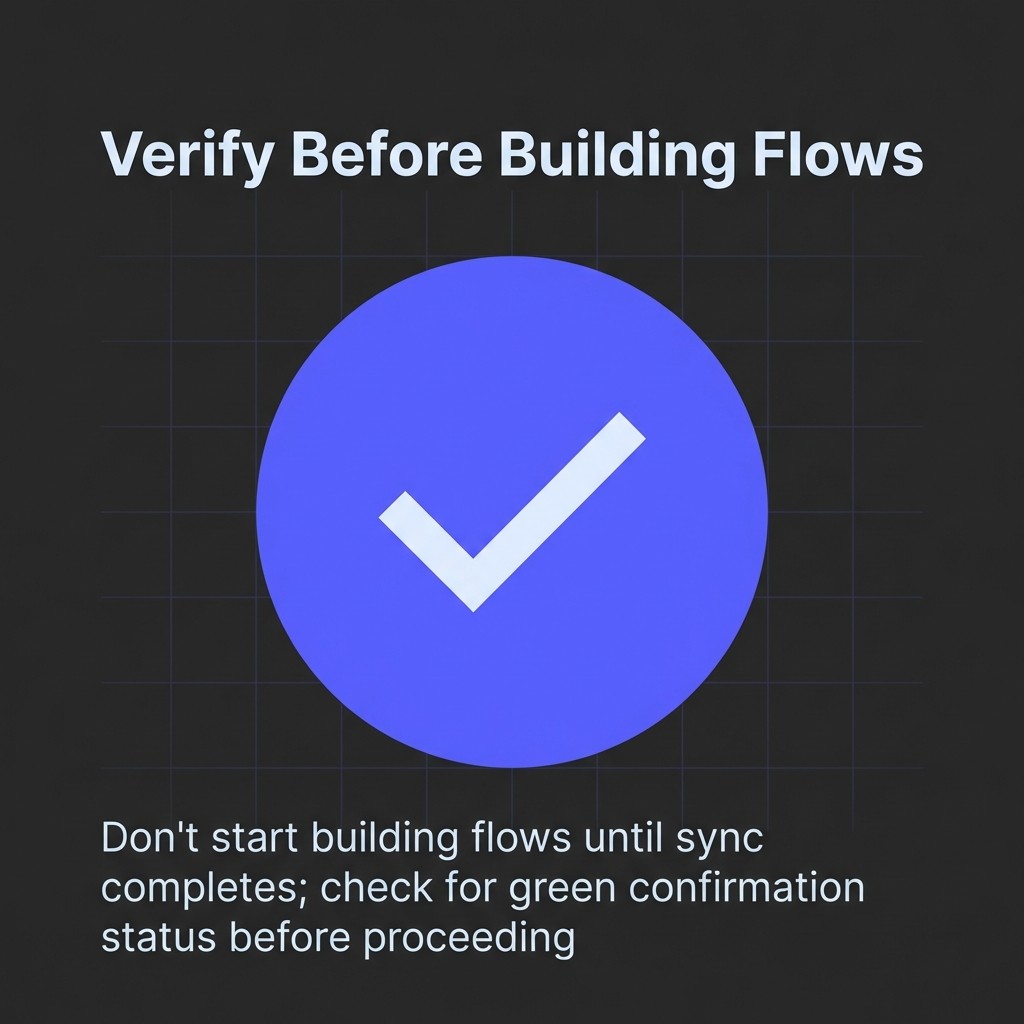
Don't start building flows until sync completes. Check your Klaviyo dashboard for the green confirmation status before proceeding to configuration.
How to Integrate Klaviyo with Shopify Step-by-Step
The installation process connects your platforms through Shopify's app marketplace. You'll authorise permissions, configure sync settings, and verify data flow.
Work through each step in order. Skipping verification causes issues that surface later when flows don't trigger properly.
Step 1: Access Klaviyo Integrations Tab
Log into your Klaviyo account and navigate to Integrations from the left sidebar. Click the 'Explore apps' button to open the integrations marketplace.
Search for 'Shopify' in the marketplace search bar. Select the official Shopify integration from the results list.

Step 2: Initiate Connection to Shopify
Click 'Install' on the Shopify integration page. Klaviyo prompts you to enter your Shopify store URL.
Enter your store URL in the format 'yourstore.myshopify.com'. Don't use your custom domain. Use the myshopify.com URL found in your Shopify admin settings.
Click 'Connect to Shopify' to proceed to authorisation.
Step 3: Authorise Integration Permissions
Shopify opens an authorisation screen showing the permissions Klaviyo requests. Review the list carefully.
Klaviyo needs access to customer data, order information, product catalogue, and checkout settings. These permissions enable the data sync and behavioural tracking that power your flows.
Click 'Install app' in Shopify to grant permissions. This redirects you back to Klaviyo.
Step 4: Confirm Integration in Klaviyo
Klaviyo displays a confirmation screen showing your connected Shopify store. Click 'Integrate' to finalise the connection.
The integration status changes to 'Connected' in your Klaviyo integrations list. Initial data sync begins automatically.
Step 5: Verify Data Sync Completion
Check your Klaviyo dashboard for sync progress. Small stores complete within minutes. Larger catalogues take longer.
Navigate to Lists & Segments to confirm your Shopify customer list appears. Check Metrics to verify order data synced correctly.
Don't proceed to flow setup until you see customer profiles and order history in Klaviyo. Incomplete sync causes flow trigger failures.
For detailed guidance on maximising your flows after integration, see our guide on the Klaviyo flows every ecommerce store thinks they need.
Configuring Email Subscriber Sync Settings
Email subscribers from Shopify checkout automatically sync to Klaviyo once integration completes. But the default settings don't always match your consent requirements or list organisation needs.
Understanding Shopify Checkout Subscriber Sync
When customers opt into email marketing at Shopify checkout, they're added to your main Shopify customer list in Klaviyo. This happens in real-time as orders complete.
The sync respects consent. Only customers who tick the marketing opt-in box at checkout appear in your Klaviyo email lists. Customers who decline marketing don't sync as subscribers.
Configuring Subscriber List Assignment
Navigate to your Shopify integration settings in Klaviyo. Find the 'Email subscribers' section to configure which list receives checkout opt-ins.
By default, subscribers join your main Shopify Customers list. You can assign them to a specific welcome flow list instead for better segmentation.
Click 'Edit settings' and select your preferred list from the dropdown. Save changes to update subscriber routing.
Syncing Existing Shopify Subscribers
The integration only syncs new checkout opt-ins going forward. Existing Shopify subscribers before integration require manual import.
Export your existing Shopify subscriber list as CSV. Import this file to Klaviyo using the List import tool. Map email addresses and consent status during import.
This one-time import ensures your historical subscribers appear in Klaviyo for segmentation and targeting.
Subscriber SourceSync MethodConsent TrackingShopify checkout opt-insAutomatic real-time syncConsent captured at checkoutExisting Shopify subscribersOne-time CSV importConsent status from Shopify exportKlaviyo signup formsDirect to Klaviyo listsConsent captured in form
Setting Up SMS Subscriber Sync Configuration
SMS subscribers require separate configuration from email. Consent regulations are stricter, and sync settings work differently than email subscriber routing.
Enabling SMS Integration Features
Navigate to your Shopify integration settings in Klaviyo. Scroll to the SMS section and toggle 'Enable SMS sync' to on.
This activates SMS subscriber sync from Shopify checkout. Customers who opt into SMS marketing at checkout automatically join your SMS subscriber list in Klaviyo.
Configuring SMS Consent Collection
SMS marketing requires explicit opt-in at checkout. Verify your Shopify checkout settings include an SMS marketing checkbox separate from email opt-in.
The checkbox must clearly state customers consent to receive SMS marketing messages. Include frequency expectations and opt-out instructions to comply with regulations.
Without proper consent collection in Shopify, you can't legally send SMS campaigns even if subscribers sync to Klaviyo.
Understanding SMS Subscriber List Management
SMS subscribers sync to a dedicated SMS list in Klaviyo. This list remains separate from your email subscriber lists to maintain proper consent segregation.
Don't manually add email subscribers to SMS lists. Each channel requires separate explicit consent captured at the point of collection.
Review your SMS subscriber list regularly to verify consent status appears correctly. Remove any subscribers missing proper opt-in documentation.
Enabling Onsite Tracking and Behavioural Events
Onsite tracking captures customer behaviour across your Shopify store. This data powers abandoned cart flows, browse abandonment sequences, and product recommendation segmentation.
The integration installs tracking automatically, but you must enable it in your Shopify theme settings.
Activating the Klaviyo App Embed
Log into your Shopify admin and navigate to Online Store, then Themes. Click 'Customize' on your active theme.
In the theme editor, find App embeds in the left sidebar. Locate 'Klaviyo' in the app embeds list and toggle it to 'Enabled'.
Click 'Save' in the top right to activate tracking across your store. This enables Klaviyo to capture viewed product events, added to cart actions, and started checkout triggers.

Verifying Tracking Implementation
Return to your Klaviyo integrations page and refresh the browser. The Shopify integration status should show a green indicator stating 'Klaviyo app is enabled'.
Test tracking by browsing products on your store in an incognito window. Add an item to cart without completing purchase. Within minutes, check your Klaviyo account for the 'Added to Cart' event.
If events don't appear, verify the app embed is toggled on and saved in your Shopify theme settings.
Understanding Tracked Behavioural Events
Klaviyo captures four primary events through onsite tracking: Viewed Product, Added to Cart, Started Checkout, and Placed Order.
- Viewed Product fires when someone views a product page
- Added to Cart triggers when they add items to cart
- Started Checkout captures checkout page visits
- Placed Order records completed purchases
These events enable flow triggers based on customer actions. Your abandoned cart flow triggers on 'Added to Cart' without 'Placed Order'. Your browse abandonment flow triggers on 'Viewed Product' without 'Added to Cart'.
Without proper tracking enabled, none of these behavioural flows work. You'll build sequences that never send because the triggering events never fire.
To understand how behavioural events power advanced automation strategies, read our explanation of Klaviyo re-entry criteria and flow update changes.
Configuring Advanced Data Sync Settings
Beyond basic subscriber and order sync, advanced settings control product catalogue data, customer profile properties, and historical data imports.
Syncing Product Catalogue Information
Product catalogue sync pulls your entire Shopify product library into Klaviyo. This enables dynamic product recommendations in emails and personalised content based on browsing history.
The catalogue syncs automatically after integration. Verify completion by navigating to Content, then Catalog in Klaviyo. Your Shopify products should appear with images, prices, and descriptions.
For advanced features, check 'Sync Shopify Markets to Klaviyo' in integration settings to sync catalogue data across storefront markets. This requires Shopify Markets configured in your store.
Managing Customer Profile Properties
Customer profile sync includes default properties like name, email, location, and order history. You can sync custom Shopify metafields to Klaviyo for advanced segmentation.
In your Shopify integration settings, find 'Profile property mapping'. Select which customer metafields to sync from Shopify to Klaviyo profiles.
Common custom properties include customer tags, account creation date, and custom fields from checkout forms. These properties enable segmentation beyond basic purchase behaviour.
Configuring Historical Data Import Depth
By default, Klaviyo imports 90 days of historical order data. You can extend this to capture longer purchase history for lifecycle segmentation.
In integration settings, find 'Historical data sync' options. Select your preferred timeframe for order history import. Longer history enables better customer lifecycle analysis but takes more time to sync.
Balance sync time against segmentation needs. If you're building win-back flows for customers who haven't purchased in 6 months, you need at least 6 months of order history.
Adding Klaviyo Signup Forms to Your Shopify Store
Integration handles subscriber sync from Shopify checkout. But dedicated signup forms capture subscribers before they reach checkout, growing your list faster.
Creating Forms in Klaviyo
Navigate to Signup Forms in Klaviyo and click 'Create Signup Form'. Choose your form type: popup, flyout, or embedded form.
Design your form using Klaviyo's drag-and-drop editor. Include email field, optional phone field for SMS consent, and a clear value proposition explaining what subscribers receive.
Set display triggers based on visitor behaviour: time on site, exit intent, scroll depth, or specific page visits. Save your form when design and triggers are configured.
Installing Forms on Shopify Pages
For popup and flyout forms, Klaviyo automatically displays them on your Shopify store once published. No additional installation required.
For embedded forms, copy the embed code from Klaviyo. In Shopify, navigate to the page where you want the form to appear. Add a Custom HTML block and paste the Klaviyo embed code.
Common form placements include homepage, product pages, blog posts, and footer sections. Test each placement to verify forms display correctly.
Optimising Form Conversion Rates
Generic 'Subscribe to our newsletter' forms underperform. Offer specific value: discount codes, early access to sales, or exclusive product launches.
Test single-field email forms against multi-field forms requesting name and phone. Fewer fields typically convert better, but multi-field forms collect richer data for segmentation.
Set appropriate display frequency to avoid annoying visitors. Show popups once per session or once every 7 days to the same visitor.
Form TypeBest Use CaseTypical Conversion RateExit intent popupCapturing abandoning visitorsHigher than timed popupsTimed popupEngaged visitors after 30-60 secondsModerate conversionEmbedded homepage formNon-intrusive persistent signup optionLower but consistentProduct page flyoutCapturing interested shoppersHigher intent audience
Troubleshooting Common Integration Issues
Most integration problems stem from permission errors, incomplete sync, or disabled tracking. Work through these checks systematically when flows don't trigger or data doesn't appear.
Resolving Subscriber Sync Problems
If checkout subscribers aren't appearing in Klaviyo, verify checkout opt-in is enabled in your Shopify settings. Navigate to Settings, then Checkout in Shopify admin. Confirm 'Email marketing' checkbox is active.
Check subscriber consent status. Customers who don't tick the opt-in box won't sync to Klaviyo even though they completed purchase.
Review your Klaviyo integration status. Disconnected or paused integrations stop subscriber sync. Reconnect if status shows inactive.
Fixing Onsite Tracking Event Issues
Missing behavioural events usually indicate disabled app embed. Return to Shopify theme settings and verify Klaviyo app embed is toggled on and saved.
Some themes conflict with app embeds. If tracking doesn't work after enabling, contact Klaviyo support to manually install tracking code in your theme files.
Test tracking in incognito mode to avoid conflicts with browser extensions or cached scripts. Clear cache and try test actions again.
Addressing Product Catalogue Sync Delays
Large product catalogues take time to sync initially. Wait 30-60 minutes before troubleshooting catalogue sync issues.
If products still don't appear after an hour, check your Shopify product visibility settings. Products set to 'draft' or 'hidden' don't sync to Klaviyo.
Maximising Your Integration for Revenue Growth
Proper integration setup unlocks the data flow that makes retention inevitable. But configuration alone doesn't generate revenue.
Start with your abandoned cart flow. Most ecommerce stores recover 25-40% of abandoned carts with properly configured sequences. Use the order data and behavioural triggers you've just enabled to build three-email sequences timed for maximum recovery.

Build your welcome series next. New subscribers who receive immediate value convert to customers faster. Use customer profile data to personalise based on signup source or browsing history.
Layer in post-purchase flows that drive repeat purchases. Use order data to trigger sequences based on product categories, recommend complementary items, and time follow-ups to match your typical repurchase cycle.
Understanding Klaviyo pricing helps you plan subscriber growth whilst maintaining profitability. Plan your list building strategy around pricing tiers to avoid surprise costs.
The integration you've configured enables segmentation based on purchase behaviour, browsing patterns, and customer lifecycle stage. Use these segments to send targeted campaigns that outperform batch-and-blast approaches.
Track attributed revenue in Klaviyo's analytics. Every flow and campaign shows direct revenue impact pulled from your Shopify order data. This attribution proves ROI and identifies which sequences deserve optimisation attention.
Most importantly, focus on results rather than tasks. The integration provides the data infrastructure. Your job is translating that data into revenue through strategic flow design and continuous testing.
For strategic guidance on optimising for outcomes rather than activity, read our perspective on stopping task optimisation and starting result optimisation in Klaviyo.
Make retention inevitable by using the full power of your newly integrated Klaviyo and Shopify setup.